Moving!!!
I’ve moved to a new home, see you all there :)*
I’ve moved to a new home, see you all there :)*


Women are from Venus, they said. Sensitive, sometimes illogically touchy and hormonally unstable. Non sense isn’t it? Well… so much that I don’t want to agree to that, yesterday was one of those day that I couldn’t feel the bottom of my feeling. I just felt miserable all day and everything seemed to have gone out of my way.
Thank God , today is different…better. Started in the morning with the postman knocking on my door… An “amazon” package… What could it be?… My mini angel cake moulds or my new lens?… It’s the lens, yeay… I had to make something to test lens, hadn’t I?
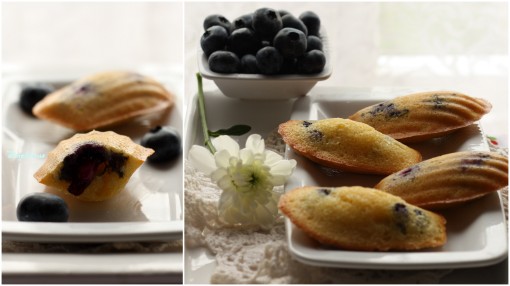
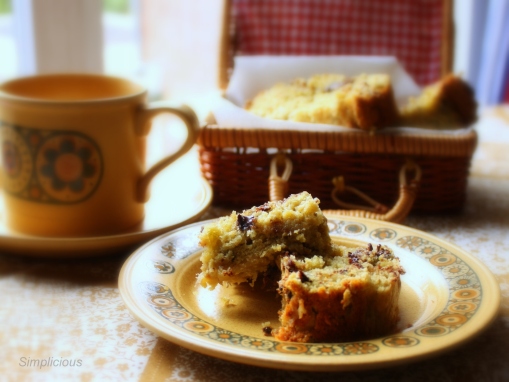
So here they are, agave nectar blueberry madeleines, I bought this agave nectar a while ago and wonder how would it taste in bake goods, to tell the truth… I still have to get use to the leafy taste, I don’t know?… I definitely need to find another flavor to pair it with… hmm… wondering what it would be… Any idea?

Recipe adapted from here
Ingredients
Directions
Preheat the oven to 200ºC/400ºF. Lightly grease two 15 ½-by-9-inch (38×22cm) nonstick madeleine pans.
In a separate small bowl, combine the sifted flour and baking powder. Set aside.
In a large bowl, combine the eggs, sugar and agave nectar. Using a spatula, fold in the dry ingredients until just combined; the batter will be slightly stiff. Add the butter and essence, mixing until just combined (do not overmix). Cover and refrigerate for 30 minutes.
Spread a heaping tablespoon of the batter evenly into each madeleine cup, add in bluberries and bake for 8 to 10 minutes, until a hunchback has formed on the puddings and they are golden brown. Unmold them immediately onto a wire rack and allow them to cool completely.
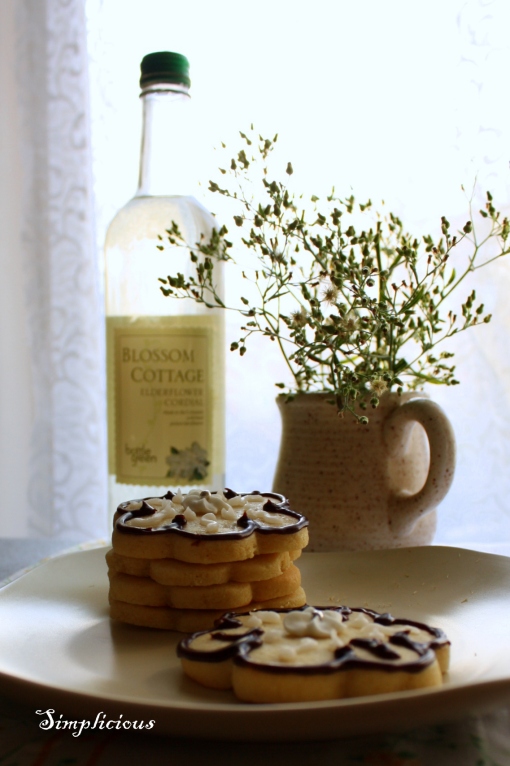
I’ve been wanting to baked with elderflower already for quite sometime, but couldn’t get my hand’s on the treasure until now.
I love flowery scents, I’m always in search for new flowery scents to bake with… in short I’m a flower girl with flower baking power (not from “flower” generation fortunately unfortunate 😉 )… and with my lack of theme in September, I decided to make flower as my challenge’s theme. Not too interesting I’m afraid, but the fall chill is freezing my brain … hehe (excuse.com).
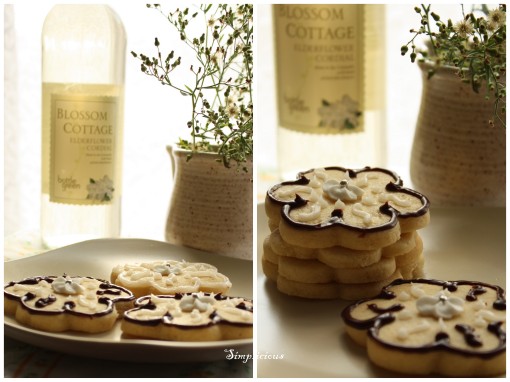
The September 2010 Daring Bakers’ challenge was hosted by Mandy of “What the Fruitcake?!” Mandy challenged everyone to make Decorated Sugar Cookies based on recipes from Peggy Porschen and The Joy of Baking.
Basic Sugar Cookies:
Makes Approximately 36x 10cm / 4″ Cookies
200g / 7oz / ½ cup + 6 Tbsp Unsalted Butter, at room temperature
400g / 14oz / 3 cups + 3 Tbsp All Purpose / Plain Flour
200g / 7oz / 1 cup Caster Sugar / Superfine Sugar
1 Large Egg, lightly beaten
5ml / 1 tsp Vanilla Extract / Or seeds from 1 vanilla bean
Directions
• Cream together the butter, sugar and any flavourings you’re using. Beat until just becoming
creamy in texture.
• Tip: Don’t over mix otherwise you’ll incorporate too much air and the cookies will spread during
baking, losing their shape.
• Beat in the egg until well combined, make sure to scrape down the sides of the bowl.
Add the sifted flour and mix on low until a non sticky dough forms.
• Tip: I don’t have a stand mixer so I find it easier to switch to dough hooks at this stage to avoid
flour flying everywhere.
• Knead into a ball and divide into 2 or 3 pieces.
• Roll out each portion between parchment paper to a thickness of about 5mm/1/5 inch (0.2 inch)
• Refrigerate for a minimum of 30mins.
• Tip: Recipes commonly just wrap the whole ball of dough in clingwrap and then refrigerate it for an
hour or overnight, but by rolling the dough between parchment, this shortens the chilling time and
then it’s also been rolled out while still soft making it easier and quicker.
• Once chilled, peel off parchment and place dough on a lightly floured surface.
• Cut out shapes with cookie cutters or a sharp knife.
• Arrange shapes on parchment lined baking sheets and refrigerate for another 30mins to an hour.
• Tip: It’s very important you chill them again otherwise they’ll spread while baking.
• Re-roll scraps and follow the above process until all scraps are used up.
• Preheat oven to 180°C (160°C Fan Assisted) / 350°F / Gas Mark 4.
• Bake until golden around the edges, about 8-15mins depending on the size of the cookies.
• Tip: Bake same sized cookies together otherwise mixing smaller with larger cookies could result in
some cookies being baked before others are done.
• Tip: Rotate baking sheets half way through baking if your oven bakes unevenly.
• Leave to cool on cooling racks.
• Once completely cooled, decorate as desired.
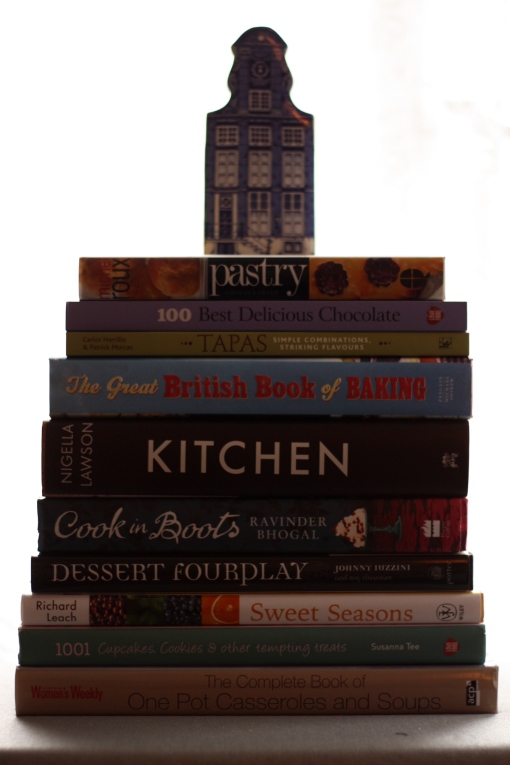
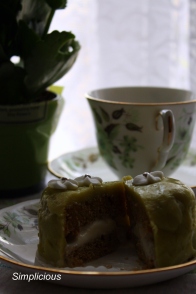
A between challenge post ??? I know… It’s been a long time since I did more than DB Challenge. Well, thank God I have a little bit more time in my hand now. I also have been buying a lot of cooking books lately, since I left most of my old ones back in Jordan. So,I took the recipe from “The Great British Book of Baking” one of my recent ones… I just add ” a little” matcha powder… you might notice that I’ve been in this matcha madness mood always lately… hope you don’t mind 😉

Ok… I got a little bit disappointed with the whole of this month challenge, first of all… a challenge of making another bombe? or another frozen cake? almost like repeating the last one… c’mon daring bakers it’s been a long time since we had savory bake or something really different and daring. Secondly..arghh… I’m not really a fan of frozen cake, I like my cake warm freshly baked… Ice cream is my favorite food but not with frozen cake. This brown butter cake is soooo delicious when it’s just came right out of the oven… but to freeze it, just like eating frozen butter with sugar.
I know some of the DB patiessrie chefs could make this desserts look so beautiful but taste wise, even with the chocolate glaze the dessert is just some what mediocre.
The August 2010 Daring Bakers’ challenge was hosted by Elissa of 17 and Baking. For the first time, The Daring Bakers partnered with Sugar High Fridays for a co-event and Elissa was the gracious hostess of both. Using the theme of beurre noisette, or browned butter, Elissa chose to challenge Daring Bakers to make a pound cake to be used in either a Baked Alaska or in Ice Cream Petit Fours. The sources for Elissa’s challenge were Gourmet magazine and David Lebovitz’s “The Perfect Scoop”.
Brown Butter Pound Cake
19 tablespoons (9.5 oz) (275g) unsalted (sweet) butter
2 cups (200g) sifted cake flour (not self-rising; sift before measuring) (See “Note” section for cake flour substitution)
1 teaspoon (5g) baking powder
1/2 teaspoon (3g) salt
1/2 cup (110g) packed light brown sugar
1/3 (75g) cup granulated sugar
4 large eggs
1/2 teaspoon pure vanilla extract
1. Preheat the oven to 325°F/160°C and put a rack in the center. Butter and flour a 9”x9” (23cmx23cm) square pan.
2. Place the butter in a 10” (25cm) skillet over medium heat. Brown the butter until the milk solids are a dark chocolate brown and the butter smells nutty. (Don’t take your eyes off the butter in case it burns.) Pour into a shallow bowl and chill in the freezer until just congealed, 15-30 minutes.
3. Whisk together cake flour, baking powder, and salt.
4. Beat the brown butter, light brown sugar, and granulated sugar in an electric mixer until light and fluffy, about 2 minutes. Beat in the eggs one at a time, mixing well, and then the vanilla extract.
5. Stir in the flour mixture at low speed until just combined.
6. Scrape the batter into the greased and floured 9”x9” (23cmx23cm) square pan. Smooth the top with a rubber spatula and rap the pan on the counter. Bake until golden brown on top and when a toothpick inserted into the center comes out clean, about 25 minutes.
7. Cool in the pan 10 minutes. Run a knife along the edge and invert right-side-up onto a cooling rack to cool completely.
| S | M | T | W | T | F | S |
|---|---|---|---|---|---|---|
| 1 | 2 | 3 | 4 | 5 | 6 | |
| 7 | 8 | 9 | 10 | 11 | 12 | 13 |
| 14 | 15 | 16 | 17 | 18 | 19 | 20 |
| 21 | 22 | 23 | 24 | 25 | 26 | 27 |
| 28 | 29 | 30 | ||||